Welcome.
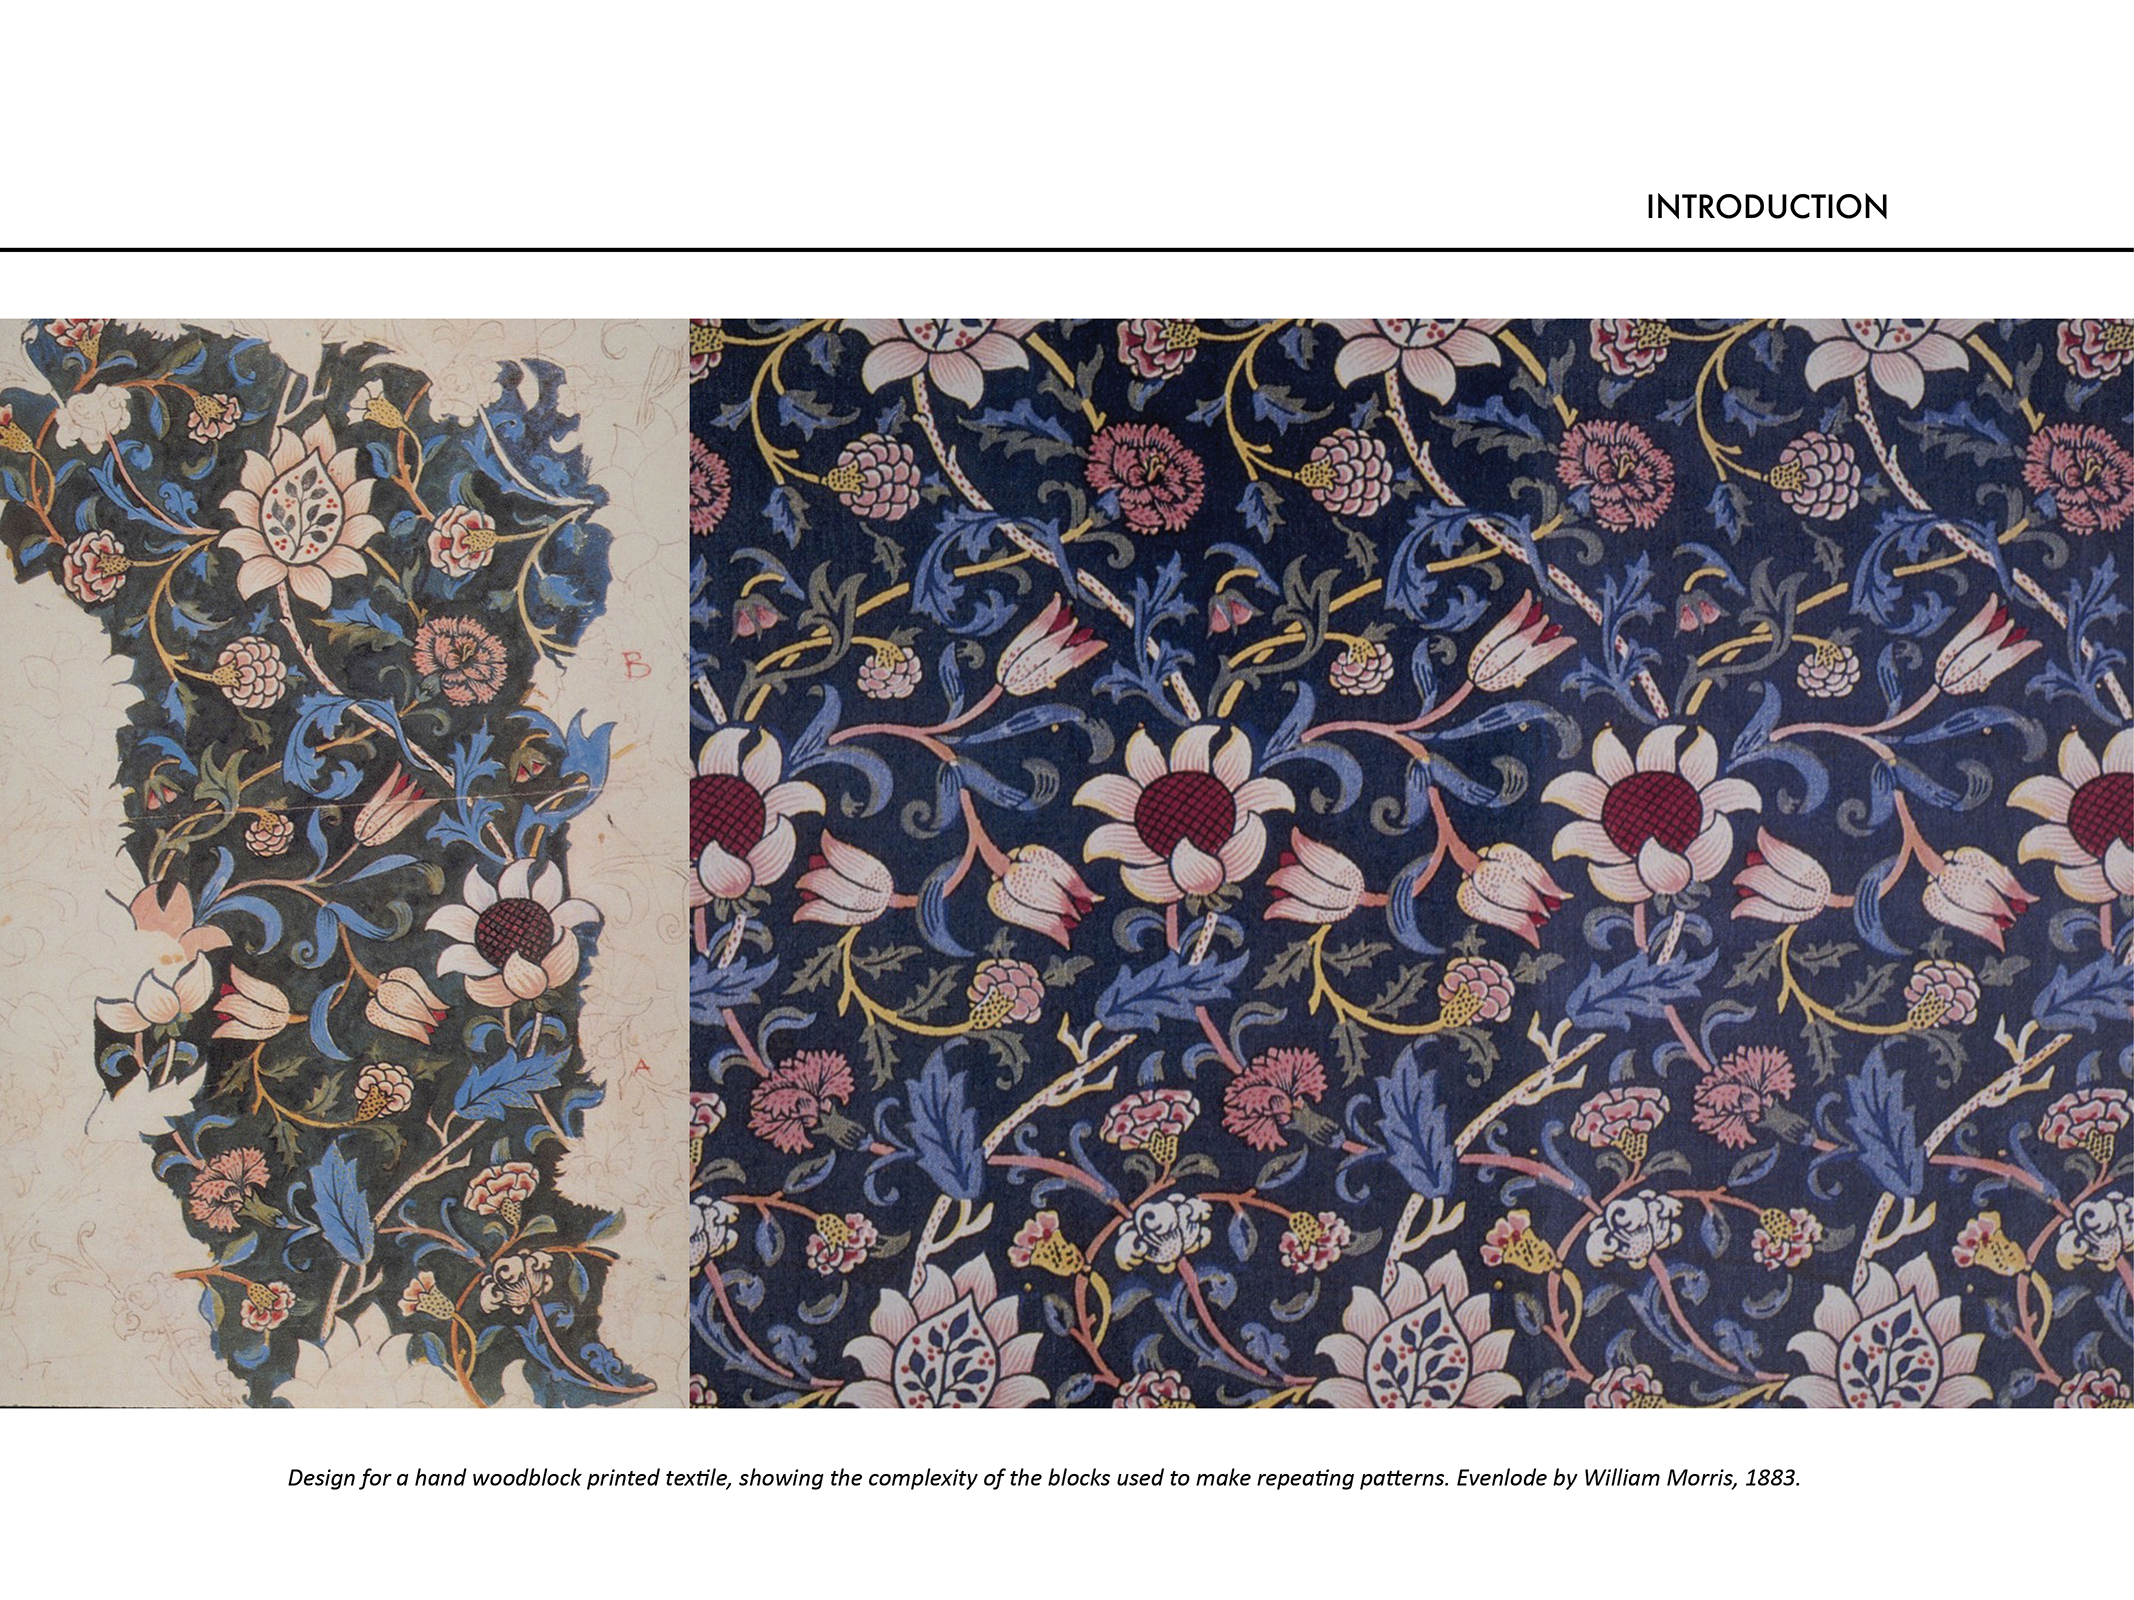
TEXTILE PRINTING
DESIGN GUIDELINES ABOUT PRINTING TECHNIQUES ON FABRICS


PATTERN DESIGN
CREATING SEAMLESS ALLOVER PRINTS IN PHOTOSHOP & ILLUSTRATOR
Allover prints in Photoshop
Pattern Preview
• Convert each element into a smart object by right clicking on the layer and select “Conver to Smart Object.”
• Turn Pattern Preview on by clicking the “View” menu and selecting “Pattern Preview.” • Select move tool and start to move around each element.
• TIP: place the largest elements first, then move on to the medium elements, and finish by adding the smaller elements in the in-between areas.
NB: When we scale or apply transformations to images, the quality of regular layers can degrade. However, with smart objects, we can scale, rotate, and modify images without any loss of quality. This is because smart objects store the original image data, allowing us to revert changes or make adjustments at any time.

Pattern Tool
• Select your pattern design and go to
Edit > Define Pattern.
• Name your pattern and click OK. It’s now saved in the pattern library.
To scale or adjust how the pattern appears, apply it as a Pattern Fill Layer:
• Go to Layer > New Fill Layer > Pattern and choose your pattern.
• In the Pattern Fill dialog, adjust the Scale slider to change the size of the pattern.

Allover prints in Illustrator
Pattern Tool
• Select the artwork that you would like to create the pattern from: Object > Pattern > Make.
• To edit an existing pattern, double-click the pattern in the pattern swatch, or select an object containing the pattern: Object > Pattern > Edit Pattern.
• Modify the other options available in the Pattern Options dialog to needs.

THANK YOU
THANK YOU

Thank you for participating!
Today, we explored print techniques and created allover patterns in Photoshop and Illustrator. Hopefully, you gained valuable skills to apply in future projects. Keep experimenting, and happy designing!
Let’s stay in touch:
sofiacucchidesign@gmail.com
IG: sofarsophie