Lesson 2:
Mastering Placed Prints and Allover Print Pattern Construction
-
In the world of textile design, understanding the technical aspects of placed prints and allover print patterns is crucial for creating visually appealing and well-constructed designs.
In this lesson, we will delve into the intricacies of constructing placed prints, and explore techniques for building and modifying allover print patterns.
-
1. Theory: Explanation of placed and allover print patterns and their construction.
2. Activity: Methods for creating allover patterns in Illustrator and Photoshop.
3.Review: Evaluation of students’ moodboards and initial ideas.
4.Homework
-
1. Create allover print drafts using the techniques learned in class.
2. Upload to Drive before the next lesson
Additional Notes:
1. Think critically about how the designs will function on different surfaces or garments.
2. Explore different textures and layers in Photoshop to enhance your allover prints. -
1. Close your eyes, draw outline
2. Fill the page in pencil/charcoal
3. Swap hand
4. Paint silhouette with ink and twigs
Placed (Engineered) Prints
Garment placement on pattern
-
Engineered prints refer to specific design elements positioned intentionally in a designated area of a garment or fabric. This technique allows for focused visual impact.
-
Before designing placed prints, it’s crucial to understand the anatomy of the garment. Identify key areas such as the front, back, sleeves, and any other significant surfaces.
-
Accurate measurement is vital for precise placement. Consider the dimensions of the print in relation to the garment. Alignment with seams, pockets, and other features should be carefully planned to ensure a cohesive design. Furthermore, if you design is NOT vector you must plan in advance sizing and proportion since a graphic cannot be enlarged or stretched to prevent pixelation and lost of quality.
-
For multi-color placed prints, it is essential to understand the color separation process. This involves creating separate layers for each color, which is especially crucial when working with printing techniques such as screen printing.

Color separation Layers


Allover Print Pattern
MIRRORING
-
Allover print patterns can cover the entire surface of the fabric creating a cohesive and continuous design that repeats seamlessly.
The repetition can work on all four corners or just on left and right, if your design is as tall as the fabric roll.
-
Allover print patterns should be tileable, meaning they can be repeated seamlessly without visible seams or interruptions.
Understanding the repeat structure, whether it’s half-drop, straight repeat, or others, is crucial for creating flawless allover patterns.
-
Techniques for modifying allover print patterns:
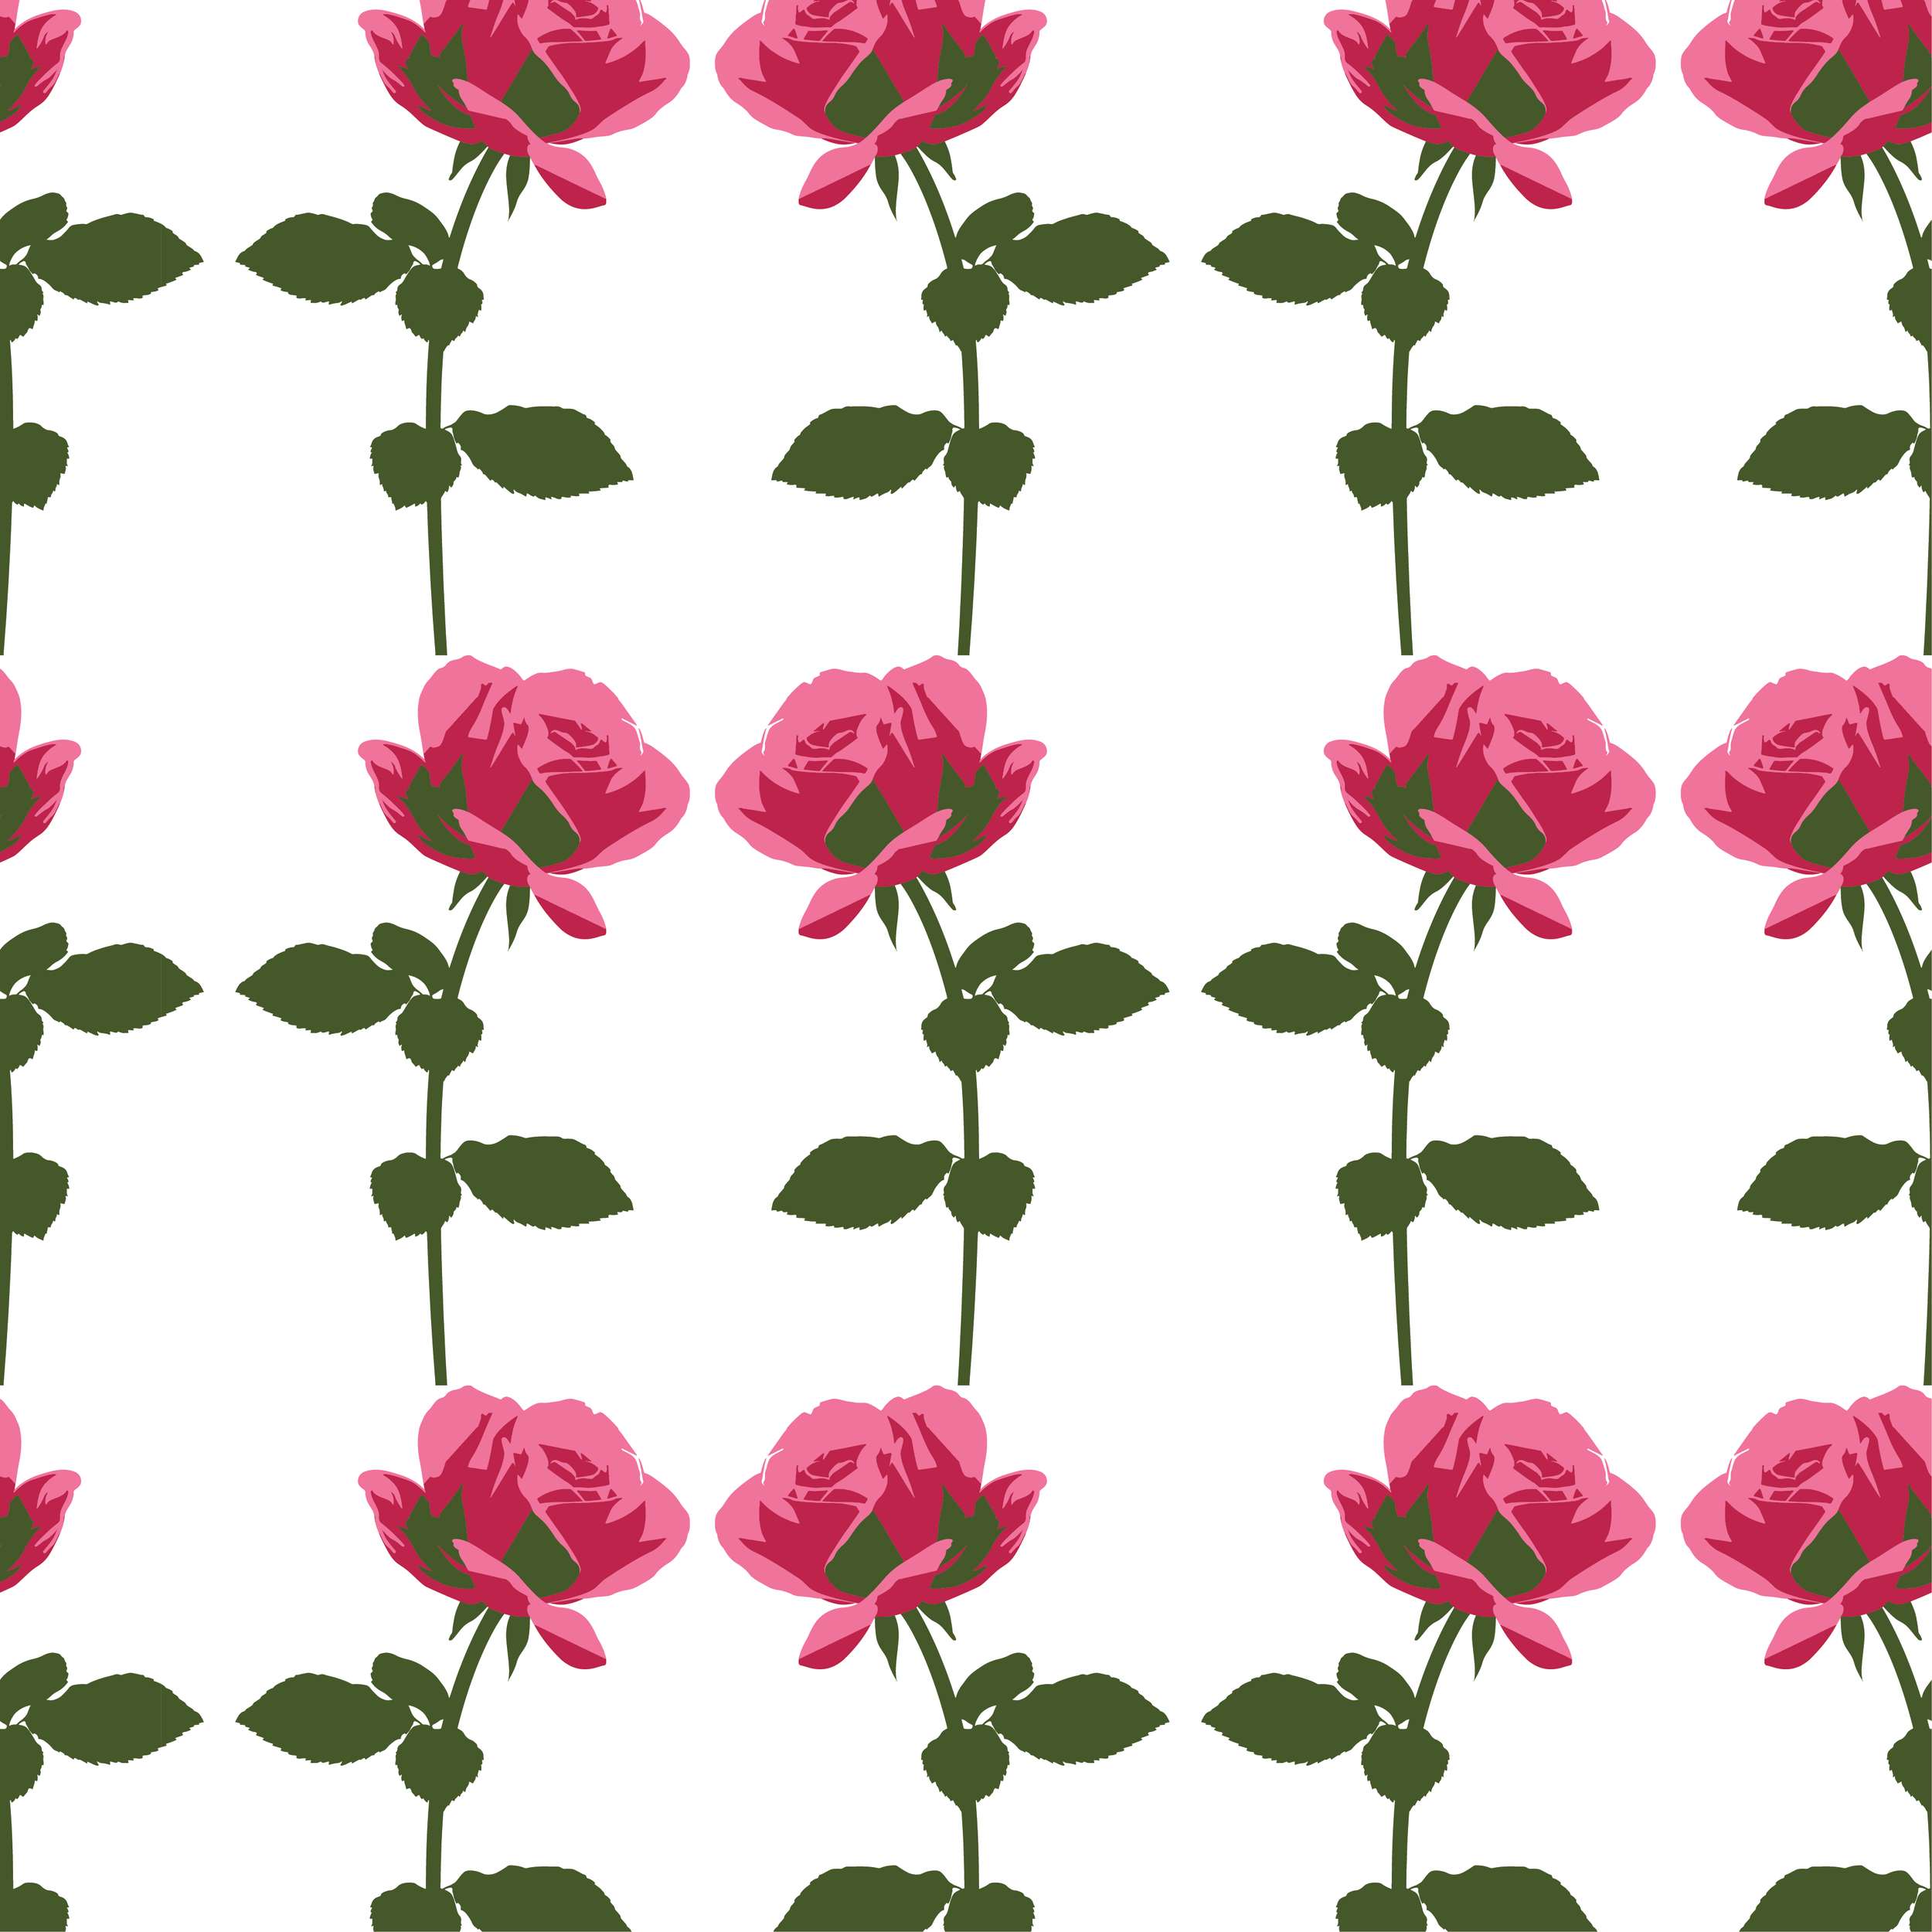
A) Mirroring
B) Rotating
C) Repeating
D) Dropping on the half
Adjusting the scale of elements to introduce diversity while maintaining cohesiveness.
-
Producing variation of the same element(s) through a collection deepen the significance and symbolism of these specific element(s).
Branding relay A LOT on this concept.
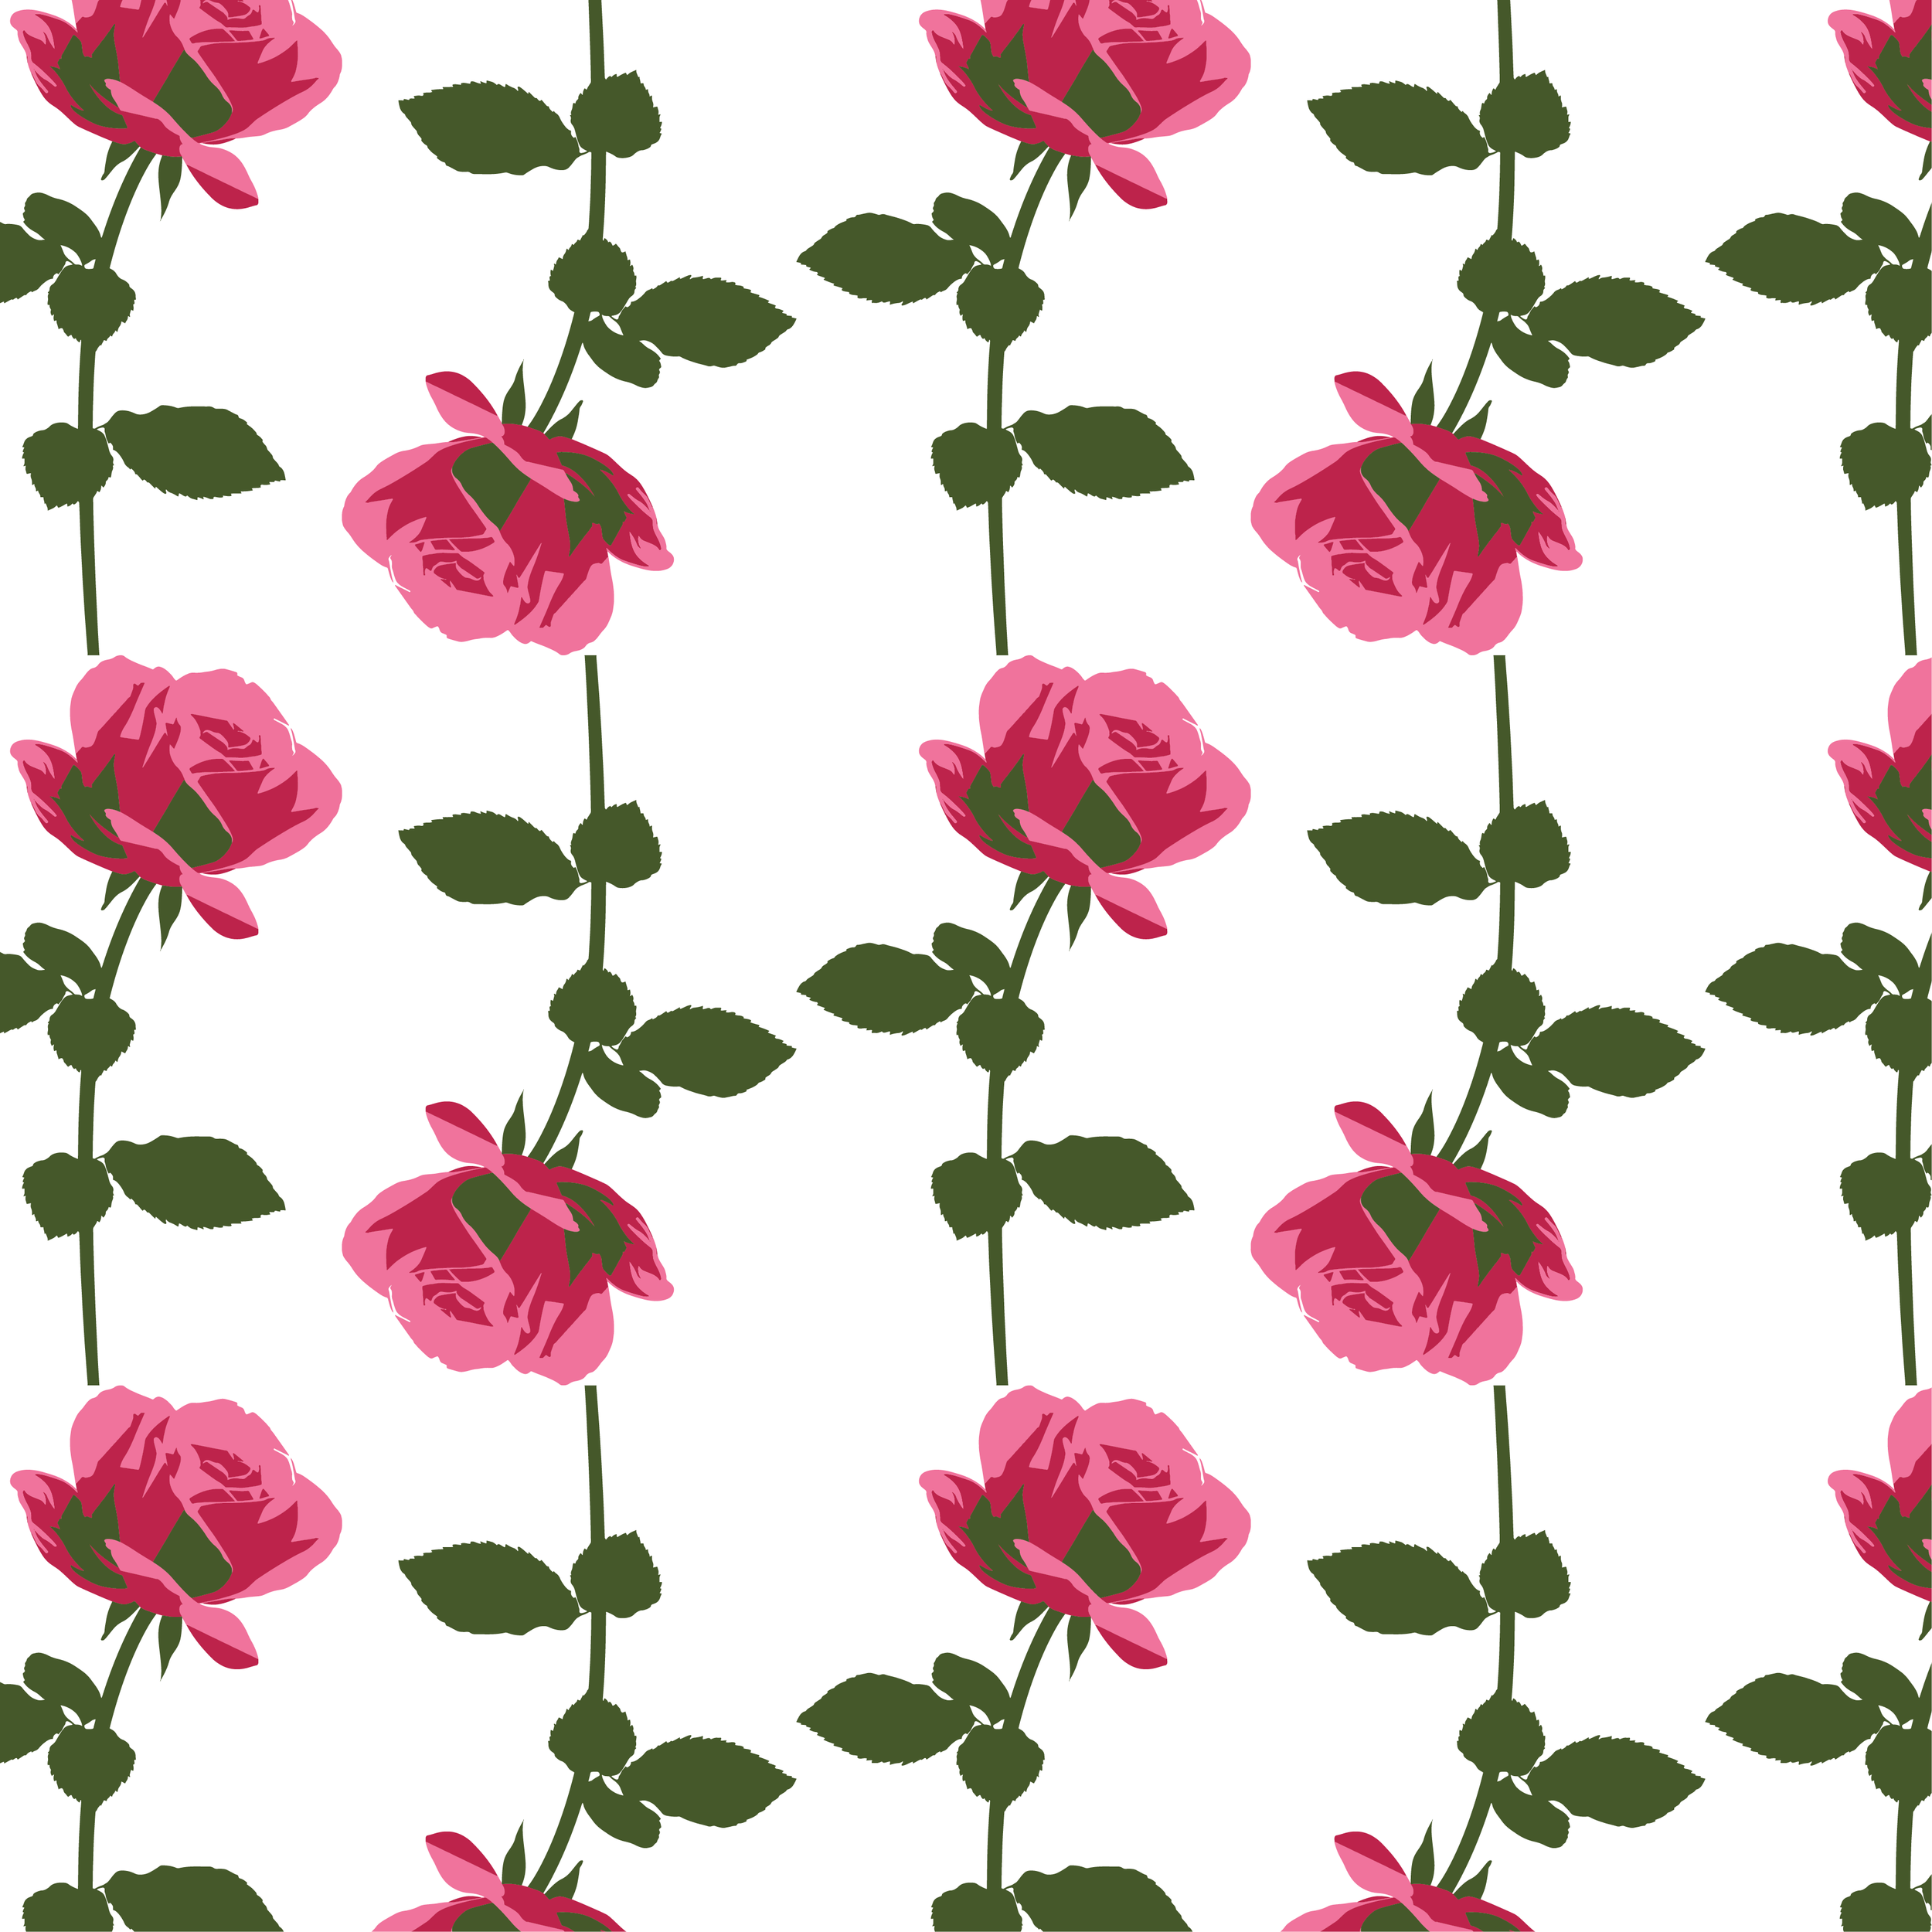
ROTATING
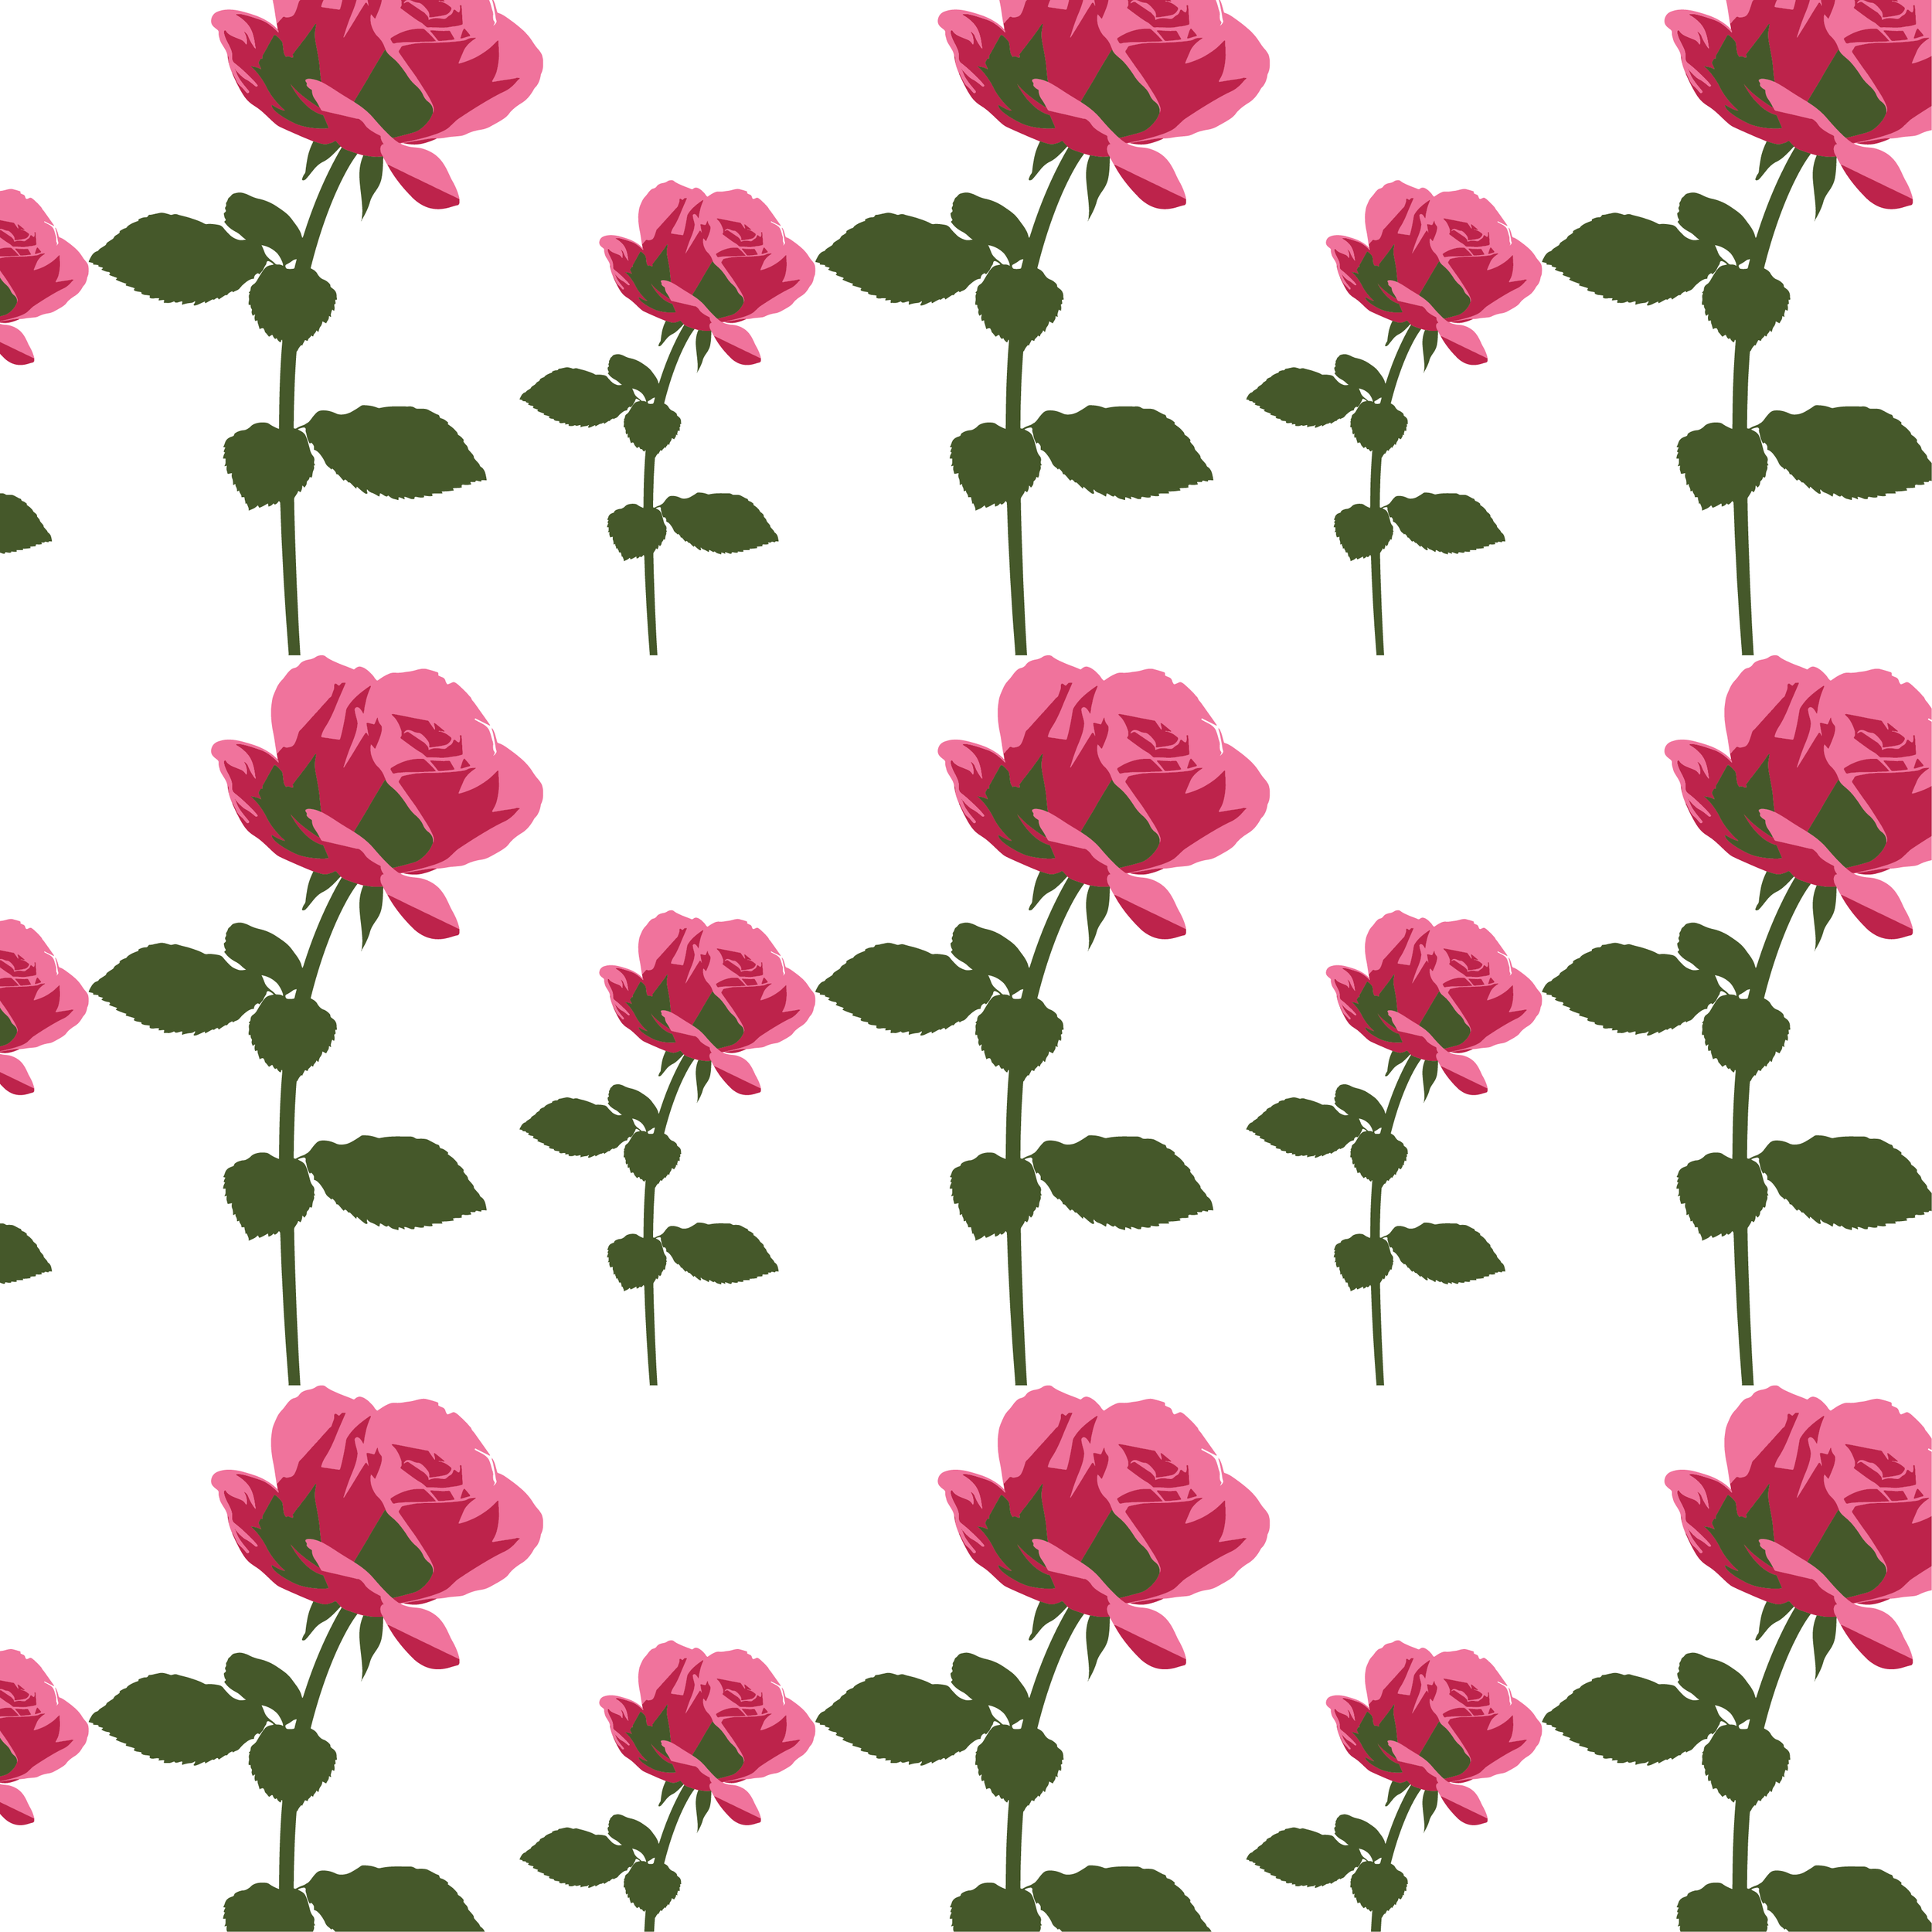

REPEATING + SCALING
DROPPING ON THE HALF
Allover prints in Photoshop
Pattern Preview
• Convert each element into a smart object by right clicking on the layer and select “Conver to Smart Object.”
• Turn Pattern Preview on by clicking the “View” menu and selecting “Pattern Preview.” • Select move tool and start to move around each element.
• TIP: place the largest elements first, then move on to the medium elements, and finish by adding the smaller elements in the in-between areas.
NB: When we scale or apply transformations to images, the quality of regular layers can degrade. However, with smart objects, we can scale, rotate, and modify images without any loss of quality. This is because smart objects store the original image data, allowing us to revert changes or make adjustments at any time.

Pattern Tool
• Select your pattern design and go to
Edit > Define Pattern.
• Name your pattern and click OK. It’s now saved in the pattern library.
To scale or adjust how the pattern appears, apply it as a Pattern Fill Layer:
• Go to Layer > New Fill Layer > Pattern and choose your pattern.
• In the Pattern Fill dialog, adjust the Scale slider to change the size of the pattern.

Allover prints in Illustrator
Pattern Tool
• Select the artwork that you would like to create the pattern from: Object > Pattern > Make.
• To edit an existing pattern, double-click the pattern in the pattern swatch, or select an object containing the pattern: Object > Pattern > Edit Pattern.
• Modify the other options available in the Pattern Options dialog to needs.

Final Result
Original Image


Exercise 1:
A color palette from any image with MOSAIC.
Photoshop and Illustartor
Exercise 2:
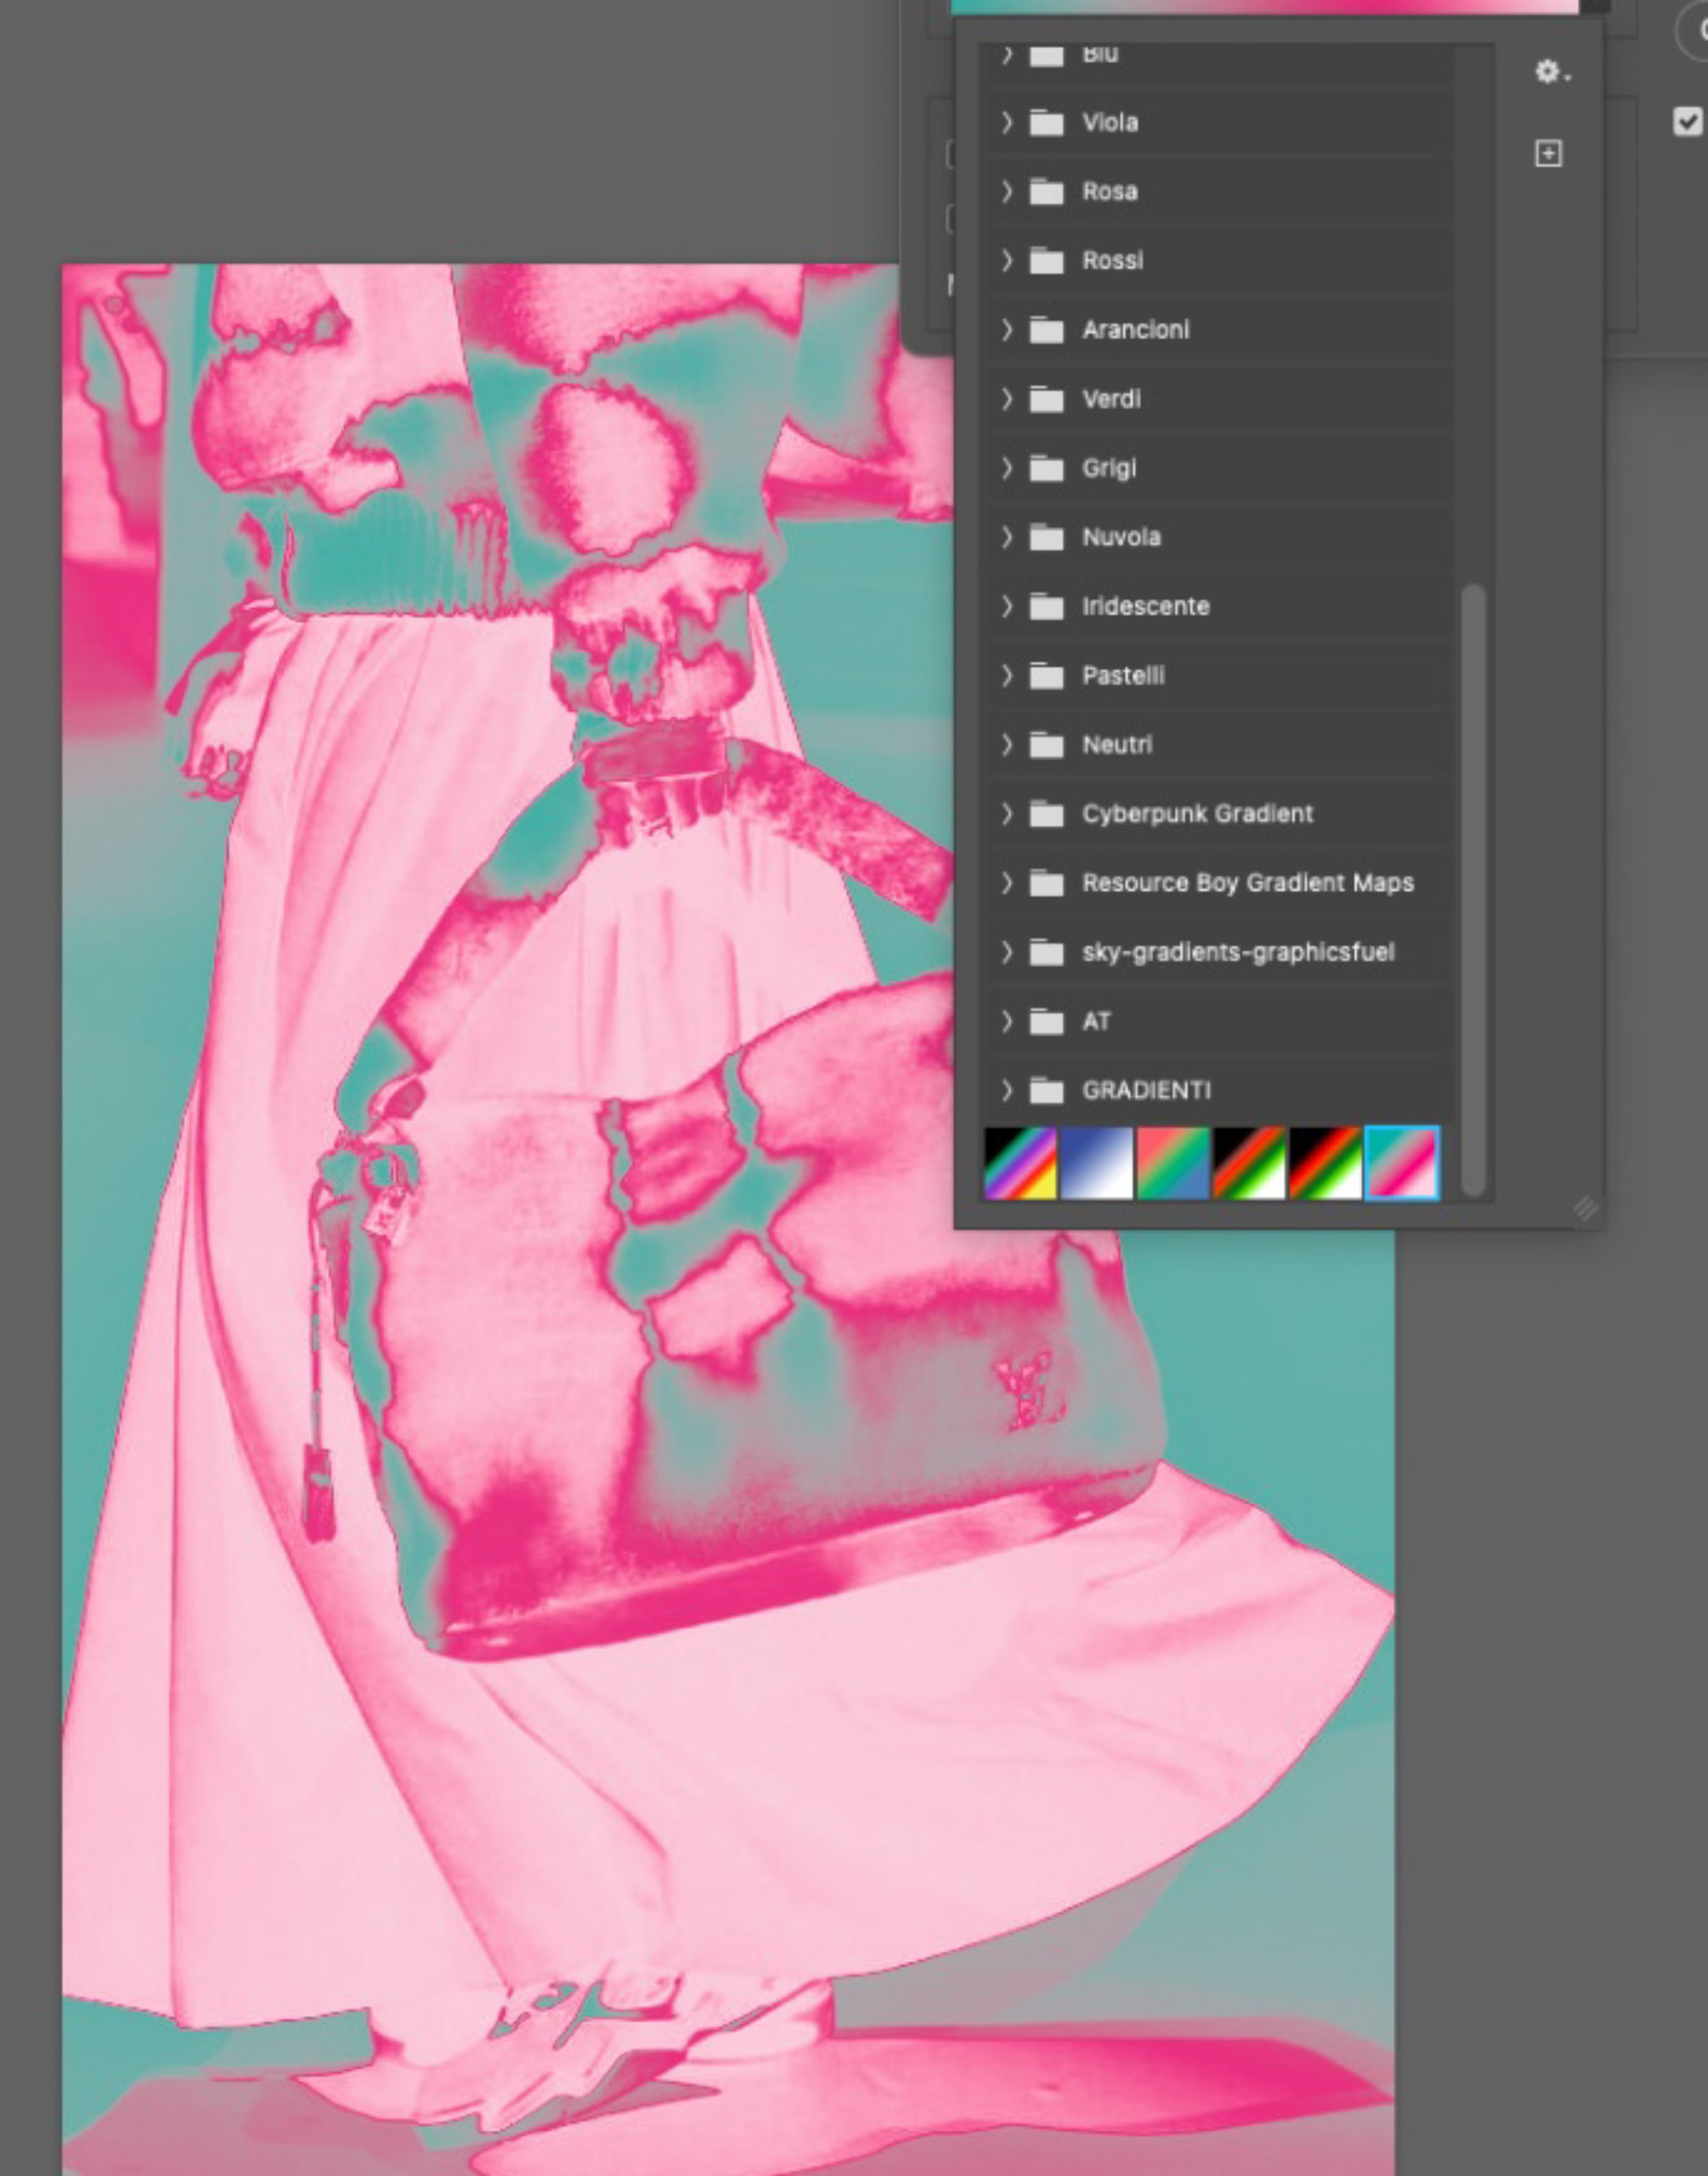
Turn in palette tones any image using GRADIENTS.
Photoshop