Lesson 5:
Advanced Photoshop Techniques
-
In this lesson, we’ll explore some advanced effects and techniques, turning your digital canvas into a playground of artistic possibilities.
-
1. Theory: Introduction to advanced Photoshop tools.
2. Activity: Design creative prints.
3. Review: Progress check on graphics in preparation for print production.4. Homework
-
1. Refine both placed and allover prints, applying feedback received during review sessions and new image manipulation techniques in Photoshop.
2. Focus on improving technical and aesthetic aspects.
3. Upload the digital material to Google Drive.Additional Notes:
1. Experiment with more complex compositions, applying multiple techniques in their refinement process.
2. Ensure your files are prepared correctly for the intended print method.
Photoshop:
Advanced Effects and Techniques
1. Puppet Warp
• Remove background from your image first
• Edit -> Puppet Warp
• Set the joint points and move around as desired

Original image

Final result
2. Liquify
• Filter -> Liquify
• Play around with different brush size and effects
• When satisfied press Ok
NB: always save an original hidden layer just in case

Example 1

Example 2
3. Gradient Maps
1)
• Image -> Adjustment -> Gradient Map
• Select any and press Ok
2)
• Create your own Gradient by usign the Gradients tool • Press + and select your colors of choice
• Name it, press new and then ok
4. Halftone
• With halftone we obtain a quadricromia print style effect • Filter -> Pixelate -> Color Halftone
• The bigger the radius the dottier the result, the smaller the readius the cleaner the final effect will be
• Usually use 4 and multiples of 4

Example 1

Example 2

Example 1

Example 2
5. Threshold and Posterize
• Threshold flatten in 2 colors any image, it works similar to image trace in Illustrator but in raster mode.
• Image -> Adjustment -> Threshold
• It works to obtain a gritty/photocopy effect too when layered properly
•Posterize flatten the color shades to the number chosen
• Image -> Adjustment -> Posterize

Threshold - Original image

Posterize -Example 2
6. Photocopy Effect
Photocopy effect can be achieved in many ways
1)
• Filter -> Filter Gallery -> Sketch -> Photocopy/Torn Edges/Stamp
2)
• Duplicate the layer and use threshold once on each
• First Threshold make it very black • Second Threshold make it whiter
• Remove background from both layers and multiply the top layer
• Fill top Layer with a color shade

Example 1

Example 2
7. Ink Bleed
• Select pixel -> Select -> Modify -> Feather
• CMD+C on a new layer
• Select pixel on original layer and delete from the feather one • Filter-> Blur -> Gaussian Blur
• Filter -> Noise
• Image -> Adjustment -> Threshold
• Import the textures and overlay
• Linear burn copyes of the layer until satisfied with the result

Example 1

Example 2
8. Spray Paint Noise
• Adding noise to colors, shades and images can emulate an aerograph effect pretty well, especially on very blurred masses
• Filter -> Noise

Example 1

Threshold - Final result
Creative and technical prints to draw inspiration from.
Ksenia Schnaider SS25 - Lost Mosaics Collection

Ksenia Schnaider SS25 - Lost Mosaics Collection

Ksenia Schnaider SS25 - Lost Mosaics Collection

Quilted jumpsuit printed with 40 hand painted watercolours by Ida Immendorff

Quilted jumpsuit printed with 40 hand painted watercolours by Ida Immendorff

Quilted jumpsuit printed with 40 hand painted watercolours by Ida Immendorff

Quilted jumpsuit printed with 40 hand painted watercolours by Ida Immendorff

Nensi Avetisian FW24

Nensi Avetisian FW24

Nensi Avetisian FW24

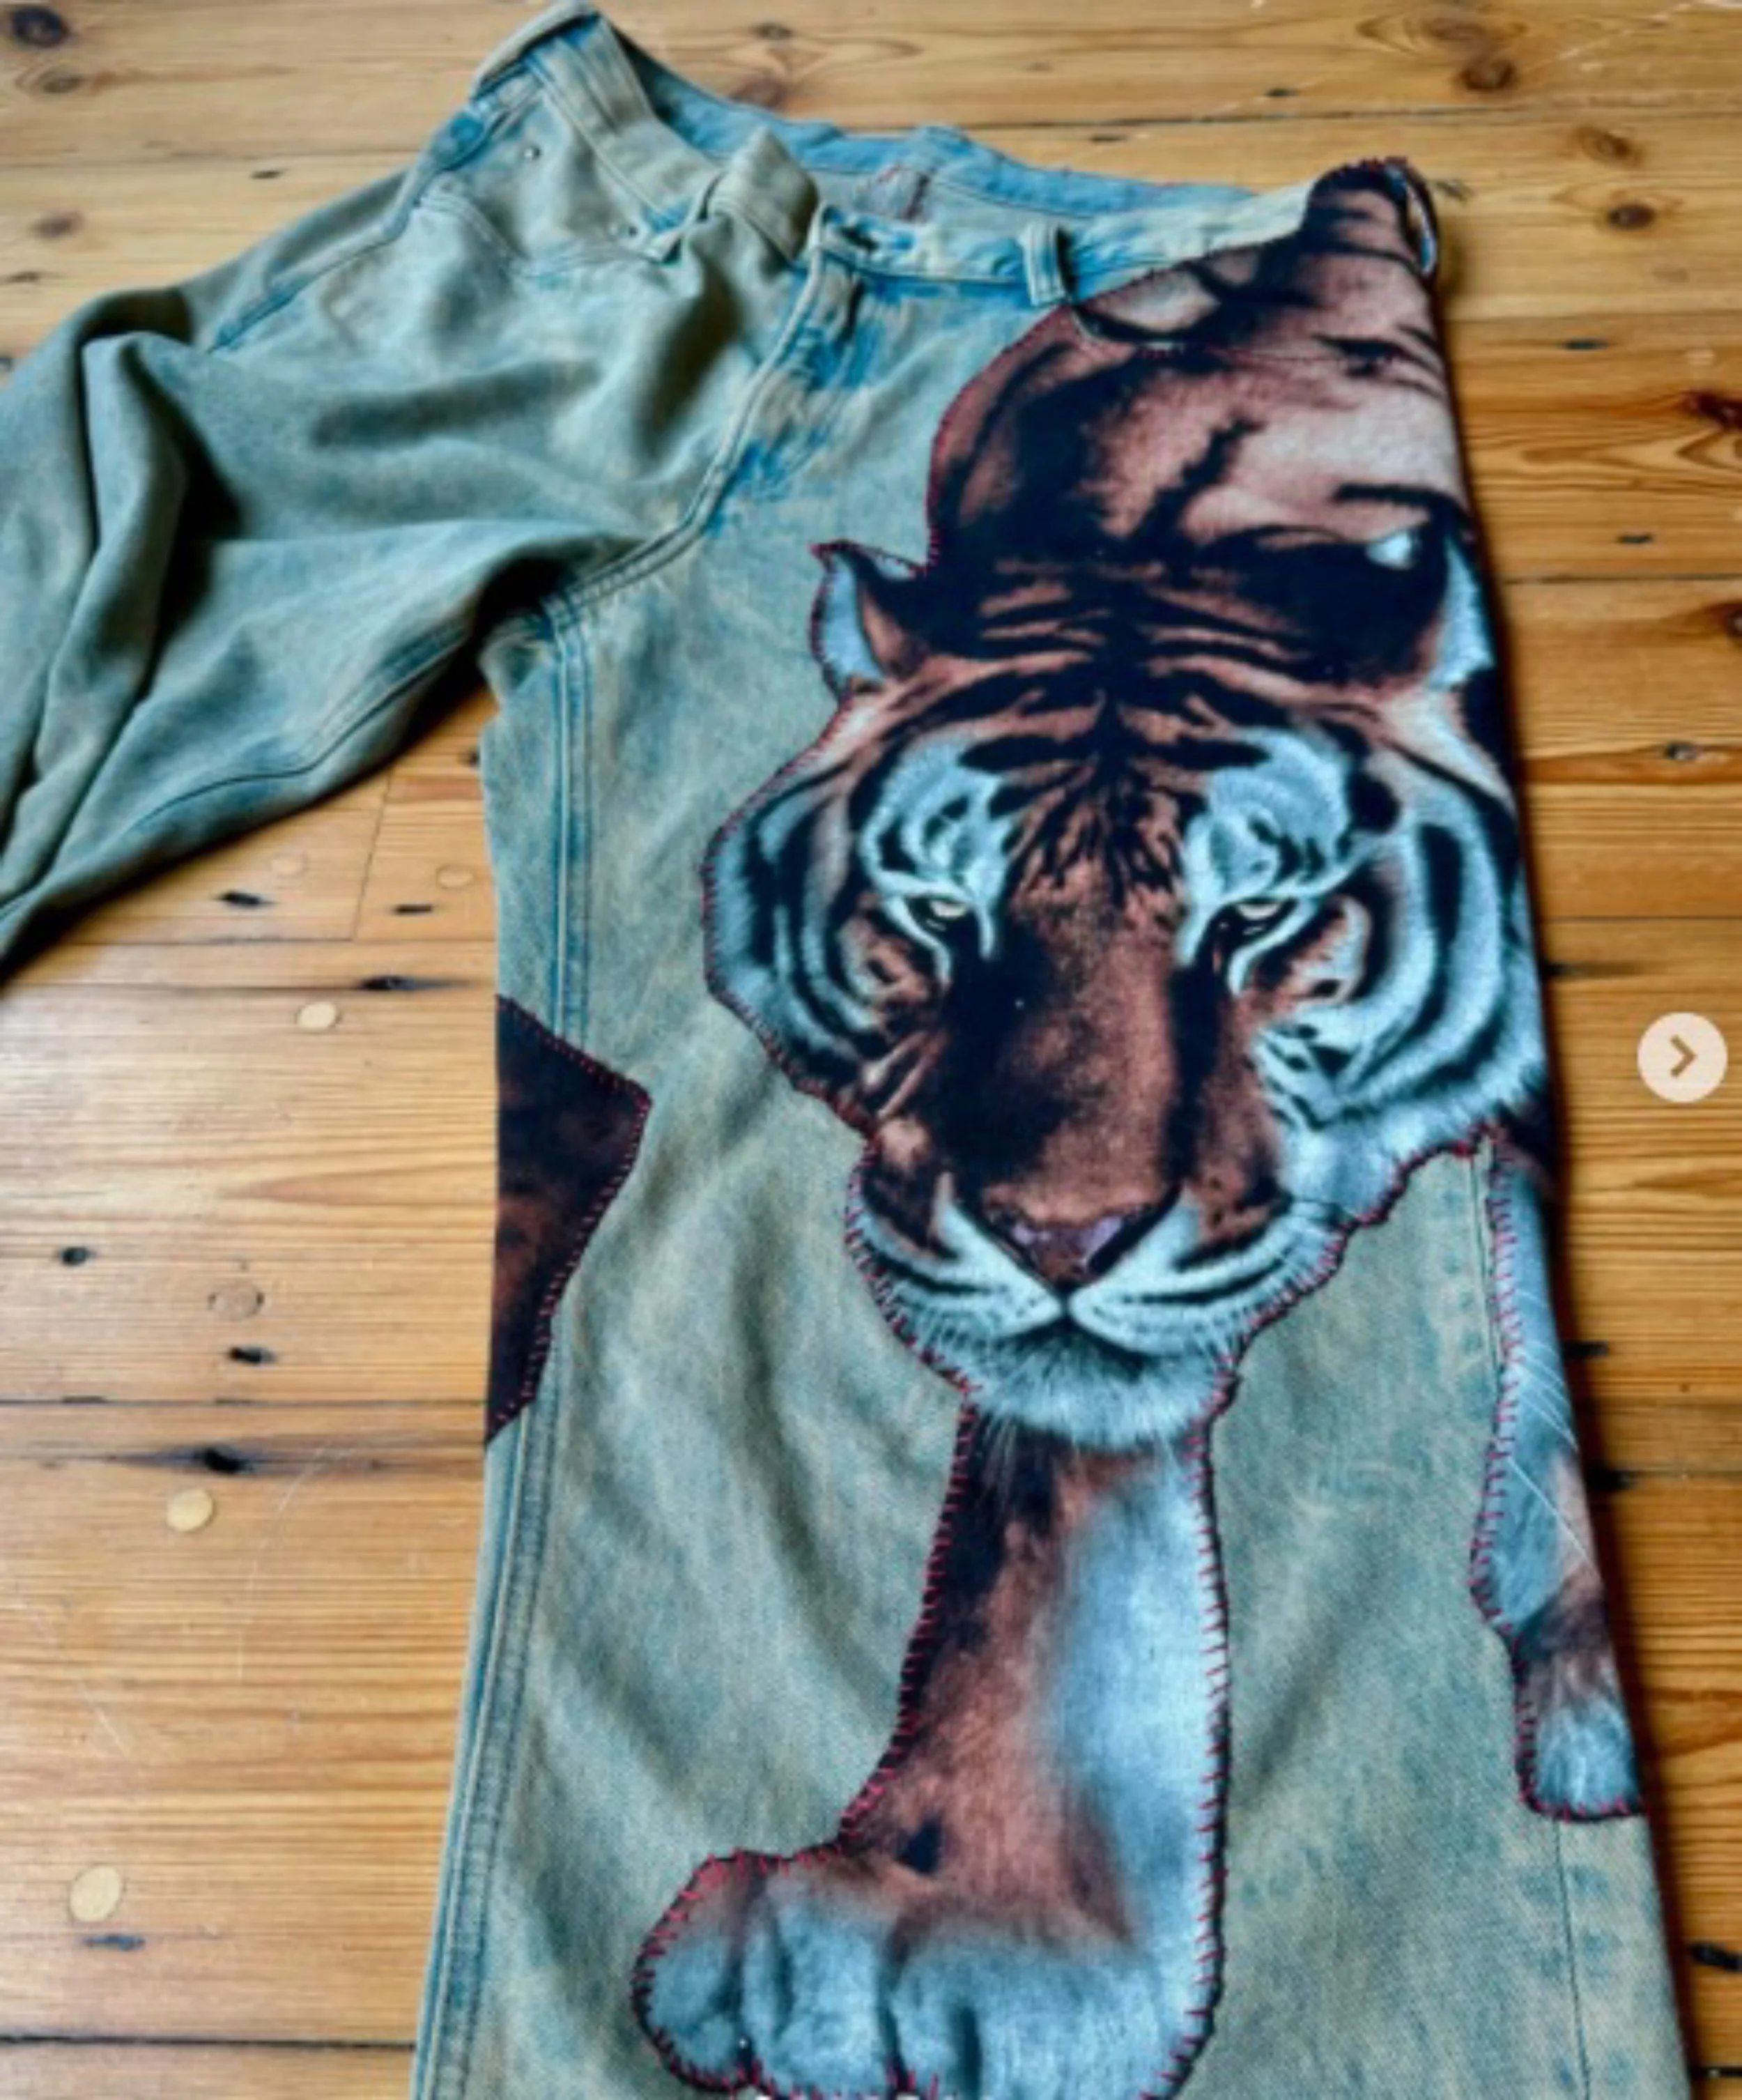
Aqua Leo print di Harrietb Cox for KNWLS London

LAqua Leo print di Harrietb Cox for KNWLS London

Aqua Leo print di Harrietb Cox for KNWLS London

Abra SS25

Abra SS25

Abra SS25

Margiela tromp l'œil 1996

Roadkill printmaking by Simon Ungless

Givenchy archive inspiration for FW24 RTW collection

Givenchy FW24 RTW

STAFFONLY - Lost in errors SS25

STAFFONLY - Lost in errors SS25

Hyunkyujo

Hyunkyujo

Patch print Jolene

Patch print Jolene

Patch print Jolene
BlockPrint di Troublemindstudios

Silkprint and dhittering effect by Problem6oy

Mixed media print by Problem6oy

Abra SS25
